So first up, ingredients and other things you will need:
 - 4oz Sugar
- 4oz Butter
- 6oz Self Raising Flour
- 1 Egg
- Chocolate (I've gone for a bar, but chocolate chips work great too)
(Click Here for a good site for conversions)
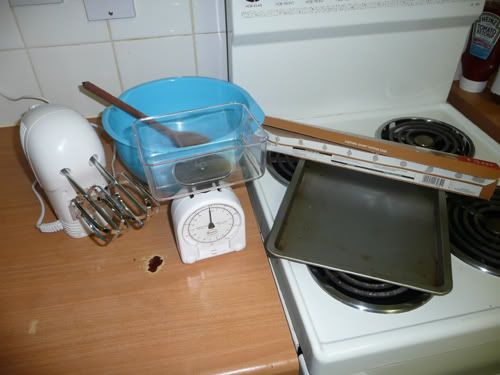
- A mixing bowl
- Scales
- Baking Tray
- Greaseproof Paper
- Whisk (if you don't have one, just use a wooden spoon)
- Wooden Spoon
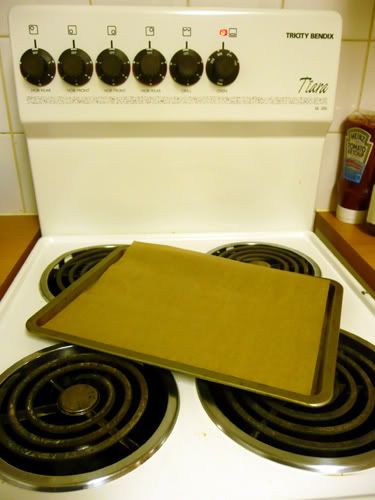 Step 1: Prepare!
Preheat the oven to 180C/Gas 4/350F, and get your greaseproof paper on your tray. I know some people like to grease trays, but I always just use paper for these Cakies and I've never, ever had a problem. This is always a good time to get your chocolate chopped up if you're using a bar, I like big chunks in mine, so that's what I've got!
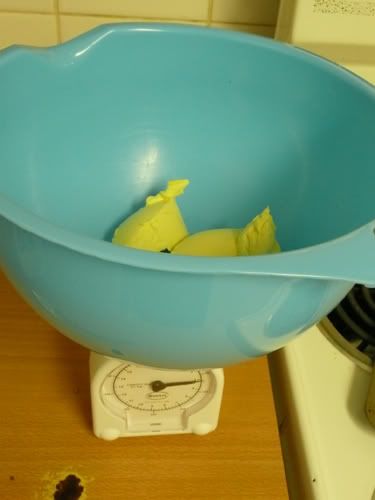
Step 2: Butter & Sugar!
This is the part where you chuck it all in and get it looking like more than a collection of ingredients.
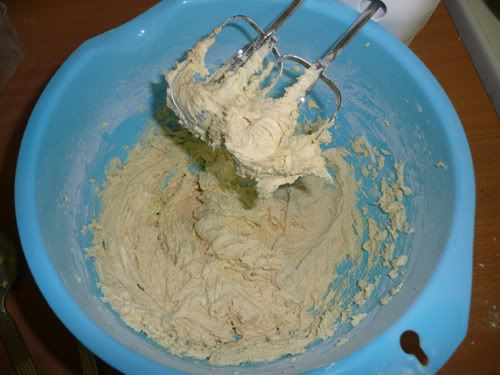
First, put your butter into your bowl and add the sugar to it (just as a note to my picture - if you use your mixing bowl with your scales, make sure you always set it to Zero when you put the scale tray back on!)

Then, give it a blitz with your whisk until the butter and sugar have mixed together to form a creamy yellow substance, like so:

If you don't have a whisk of any kind, just use a wooden spoon. This will mean more arm power, but it gets the job done just as well.
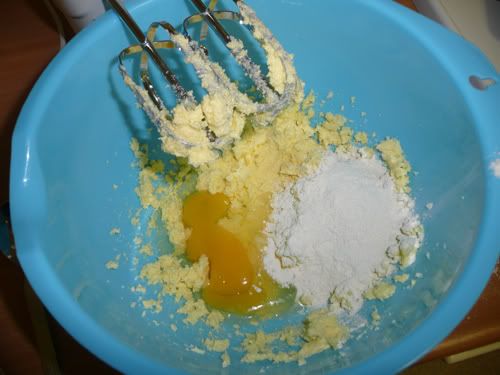
Step 3: Egg & Flour!
Crack your eggs into the butter/sugar mixture and add a small amount of your flour. Give it a whisk until it's all mixed in, add the remainder of the flour, and whisk again. By this time you will have a thick sort of cake mix.

Step 4: Chocolate!
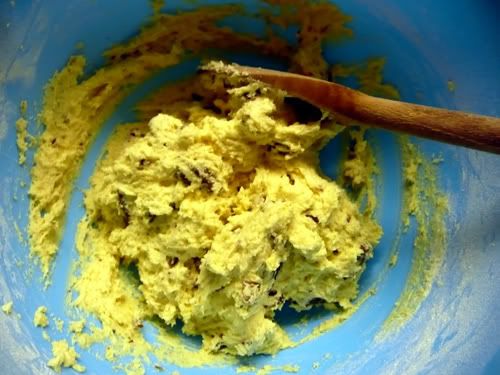
Pour your chocolate chunks/chips into the mixture, and fold in with a wooden spoon, until you're happy that it's thoroughly distributed.
Step 5: Baking Tray!
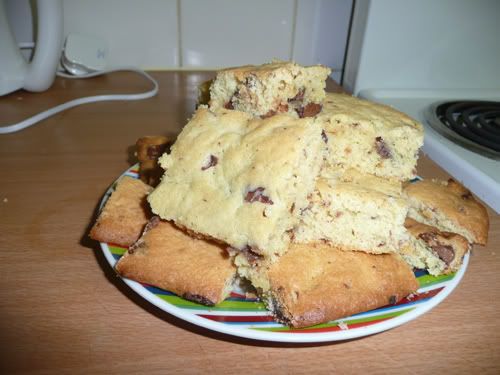
 I always go for a whole tray of Cakie, but it would work the same if you wanted to spoon blobs of the mixture onto the baking tray instead. I prefer to bake it all together, and then cut it into slices. This way, the centre pieces are amazing and so soft! This choice is obviously completely up to you though! Note - smaller cakies will take less time to cook.
Step 6: Into the Oven!
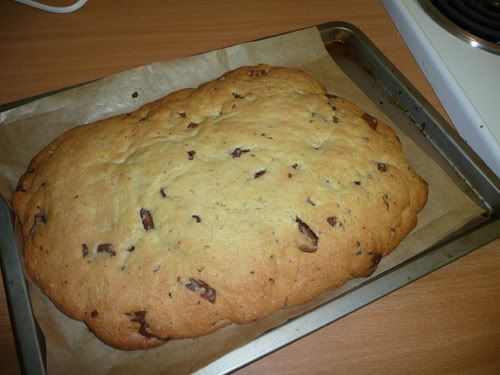
Go on, pop it in! My Cakie took 15 minutes to cook, obviously this will depend on the oven.
Please take note! Your Cakie will come out soft. Do NOT judge it by how firm it feels - it will firm up when cooling. I have made this mistake before, and the outcome isn't great! It will have started to brown off at the edges, but will probably still be pale in the centre (see my picture below). Just take it out of the oven, and leave it as it is on the baking tray to cool down. When it feels firmer to the touch, slice it up into squares, and use a spatula or other flat utensil to gently peel each slice from the baking paper, which should happen with ease.
If you want it to be more like cookie dough, take it out sooner, you just want it warmed through really. If you want it to be more like biscuit, leave it longer in the oven to dry out some more.
I love it the way it is - soft and Cakie! ^_^
Step 7: ENJOY!!
No comments:
Post a Comment